

The New and Improved Pumpkin Pie
YouWe put a fancy spin on the insipid pumpkin pie and give you the surprising history of everyone’s favorite Thanksgiving dessert.
A Little History

We live in an age where pumpkin flavor has worked it’s way into every facet of our lives. We see it in everything from coffee to candles and more. It’s hard to imagine a world in which pumpkin spice isn’t the most popular flavor four months out of the year.
Pumpkin pie, the matriarch of the pumpkin spice dynasty, holds a place of prominence within the lives of most Americans. It’s a symbol of home, family, and childhood. So it might surprise you that it was not always the case. Among the first colonists in America, pumpkins were loathed. They were thought of as nothing more than a food of “last resort.”
But why the animosity towards the millennial’s favorite vegetable? Pumpkins were native to the New World and though colonists couldn’t wait to physically leave Europe, they were still not mentally emancipated. They continued to look back to the Old World for a sense of what they should eat, the clothes they should wear, and the manners they should continue to practice.
Pumpkins became food only fit for the impoverished and became associated with the lower classes. “Pumpkin eater” or “pumpkin roller” became derogatory terms for the uncultured and ignorant.
The Pumpkin’s Rise to Prominence

With the advent of the Industrial Revolution, a great migration took place. Cities expanded at an unprecedented rate as droves of people moved there in search of work. With their new way of life, nostalgia returned for the old, and rural living became romanticized. Curiously enough, a fondness for the once loathed pumpkin sprang up among the disillusioned country folk.
Suddenly pumpkins were everywhere. Poems and songs were written in honor of the pumpkin. Its rotund likeness was featured in Harper’s Weekly. And now instead of being a last resort, the pumpkin has become an intrinsic part of holidays and celebrations.
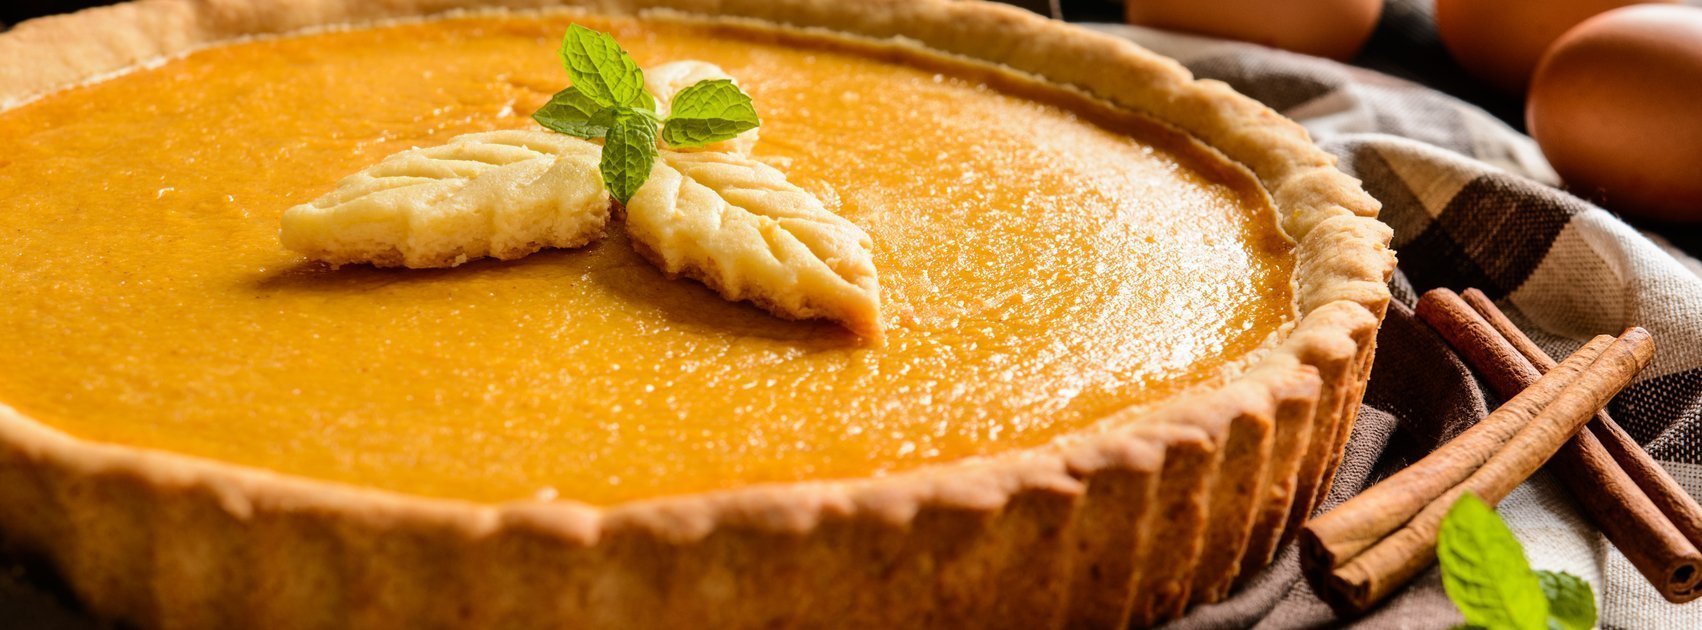
The Pumpkin is a real rags to riches story. A dish with this much history surely deserves its place of honor at the table and potentially on your menu. But there’s no need to get stuck in the past. You can try something new with our ginger-snap crust, cinnamon-infused whipped cream, and candied ginger chips. Your diners will get to have the best of both the new and the old.
Pumpkin + Ginger Tart

Ingredients
For the Crust:
- 8 ounces gingersnap cookies ( we like the traditional Swedish Pepparkakor cookies for this)
- 2 ounces butter, melted
For the Filling:
- 7 ounces brown sugar, packed
- 2 eggs
- ½ teaspoon salt, kosher
- ½ teaspoon cinnamon
- ½ teaspoon ground ginger
- ¼ teaspoon ground cloves
- ½ teaspoon nutmeg
- 8 ounces pumpkin purée (we recommend Libby’s)
For the Cinnamon Whipped Cream:
- 8 ounces heavy cream
- 1 ounce confectioner’s sugar
- ½ teaspoon cinnamon
- ¼ teaspoon vanilla bean paste
Candied Ginger Chips (optional)
Instructions
For the Crust:
*You can prepare this crust in a matter of moments and easily scale it up to suit your establishment’s needs.
In a saucepan, heat the butter until fully melted then continue to cook until the butter begins to brown. *By browning the butter, you add a nuttiness and a depth of flavor to the crust that melted butter on its own cannot provide. Browning butter, however, can be tricky, and can very quickly go from just toasted to burnt. Those who don’t feel confident in their browning abilities can simply melt the butter. However, I was once told “we must do brave things in the kitchen” so I encourage everyone to at least give it a shot.
In the bowl of a food processor, blitz together the gingersnap cookies until they are the consistency of fine sand. The finer you make your cookie crumbs, the smoother and tighter your crust will be once you combine it with the melted butter. Now add in the browned butter and pulse together until well combined.
Transfer the ginger-snap crust to a 9-inch tart pan. Using your fingers, press the crumbs into an even layer and up the sides of the tart pan. *To help ensure a level crust and sharp corners, go over the crust with the flat bottom of a measuring cup. Pressing the crumbs firmly into the edges of the tart pan.
Chilling and Baking:
Once your crust is prepared, chill it in the refrigerator for at least 20 minutes prior to baking. While you chill the crust, preheat your oven to 325F. Par-bake your crust for 15 minutes then allow the crust to cool thoroughly before adding the filling.
A note on crumb crusts: with light colored crumb crusts, like the traditional graham cracker crust, it’s quite easy to tell when it’s done as it darkens and becomes a lovely golden brown. But with darker crusts, like our ginger-snap or chocolate wafer cookie crusts, it can be harder to tell. In situations like this rely on your other senses to assess when your crust is done baking. Follow your times carefully, and don’t forget to smell your way. The crust should release a wonderful aroma when done and should feel slightly dry to the touch.
For the Filling:
While the crust is cooling, raise the temperature up to 350F and begin to prepare your pumpkin filling. In a large bowl, combine the brown sugar, eggs, salt, and spices. Whisk vigorously until you have fully incorporated the whole concoction. Next, add the pumpkin and again whisk vigorously until the filling has lightened slightly in color and is completely smooth.
Pour the completed filling into your now cooled tart crust. Use an offset spatula to spread the filling evenly across the crust. Tent the entire tart with aluminum foil and bake for 30 minutes. At the end of the half hour, remove the aluminum foil and return the tart to the oven for another 25 minutes or until the filling sets. Allow your tart to cool to room temperature then transfer to the refrigerator and allow to chill overnight for service the next day.
For the Cream:
*This is the only element of this recipe that you cannot make in advance. Luckily whipped cream comes together in moments and if your restaurant has a whipped cream dispenser even less.
In a large stainless steel bowl, or in the bowl of a standing mixer, add your chilled heavy cream and begin to whip. Once the cream begins to thicken and the whisk starts leaving visible trails behind it add in your confectioner’s sugar, cinnamon, and vanilla bean paste. Continue to beat the cream until peaks form.
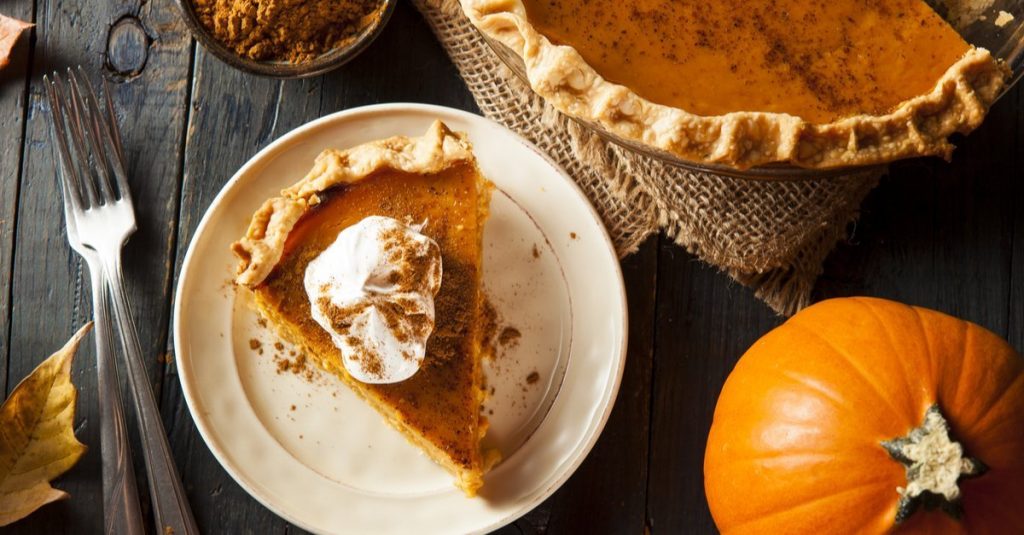
Serve your tart in generous slices garnished with the cream and a candied ginger chip.
A note on advanced preparation: You can make all the components of this recipe in advance. We recommend using large batches, especially if your restaurant has a high demand. You can store the crust in air-tight freezer bags then keep them in the refrigerator for up to 1 week or the freezer for as long as 3 months. Likewise, you can make filling and keep it at the ready for up to a week in the refrigerator.
You can make whole tarts in advance and refrigerate them. If if you wrap them well they can last up to 3-4 days. If you freeze them they can last up to a month.

Write a Comment